To add a personal touch, try making your own manger with your children.
Lenten Campaign 2025
This content is free of charge, as are all our articles.
Support us with a donation that is tax-deductible and enable us to continue to reach millions of readers.
Here’s a very simple tutorial that will help you make your own Nativity scene figurines to bring your manger to life and have some fun with your children while you’re at it!
Materials :
- Toothpicks
- 5-6 colors of modeling clay that hardens after baking. Choose shades that blend well with each other for a beautiful overall result.
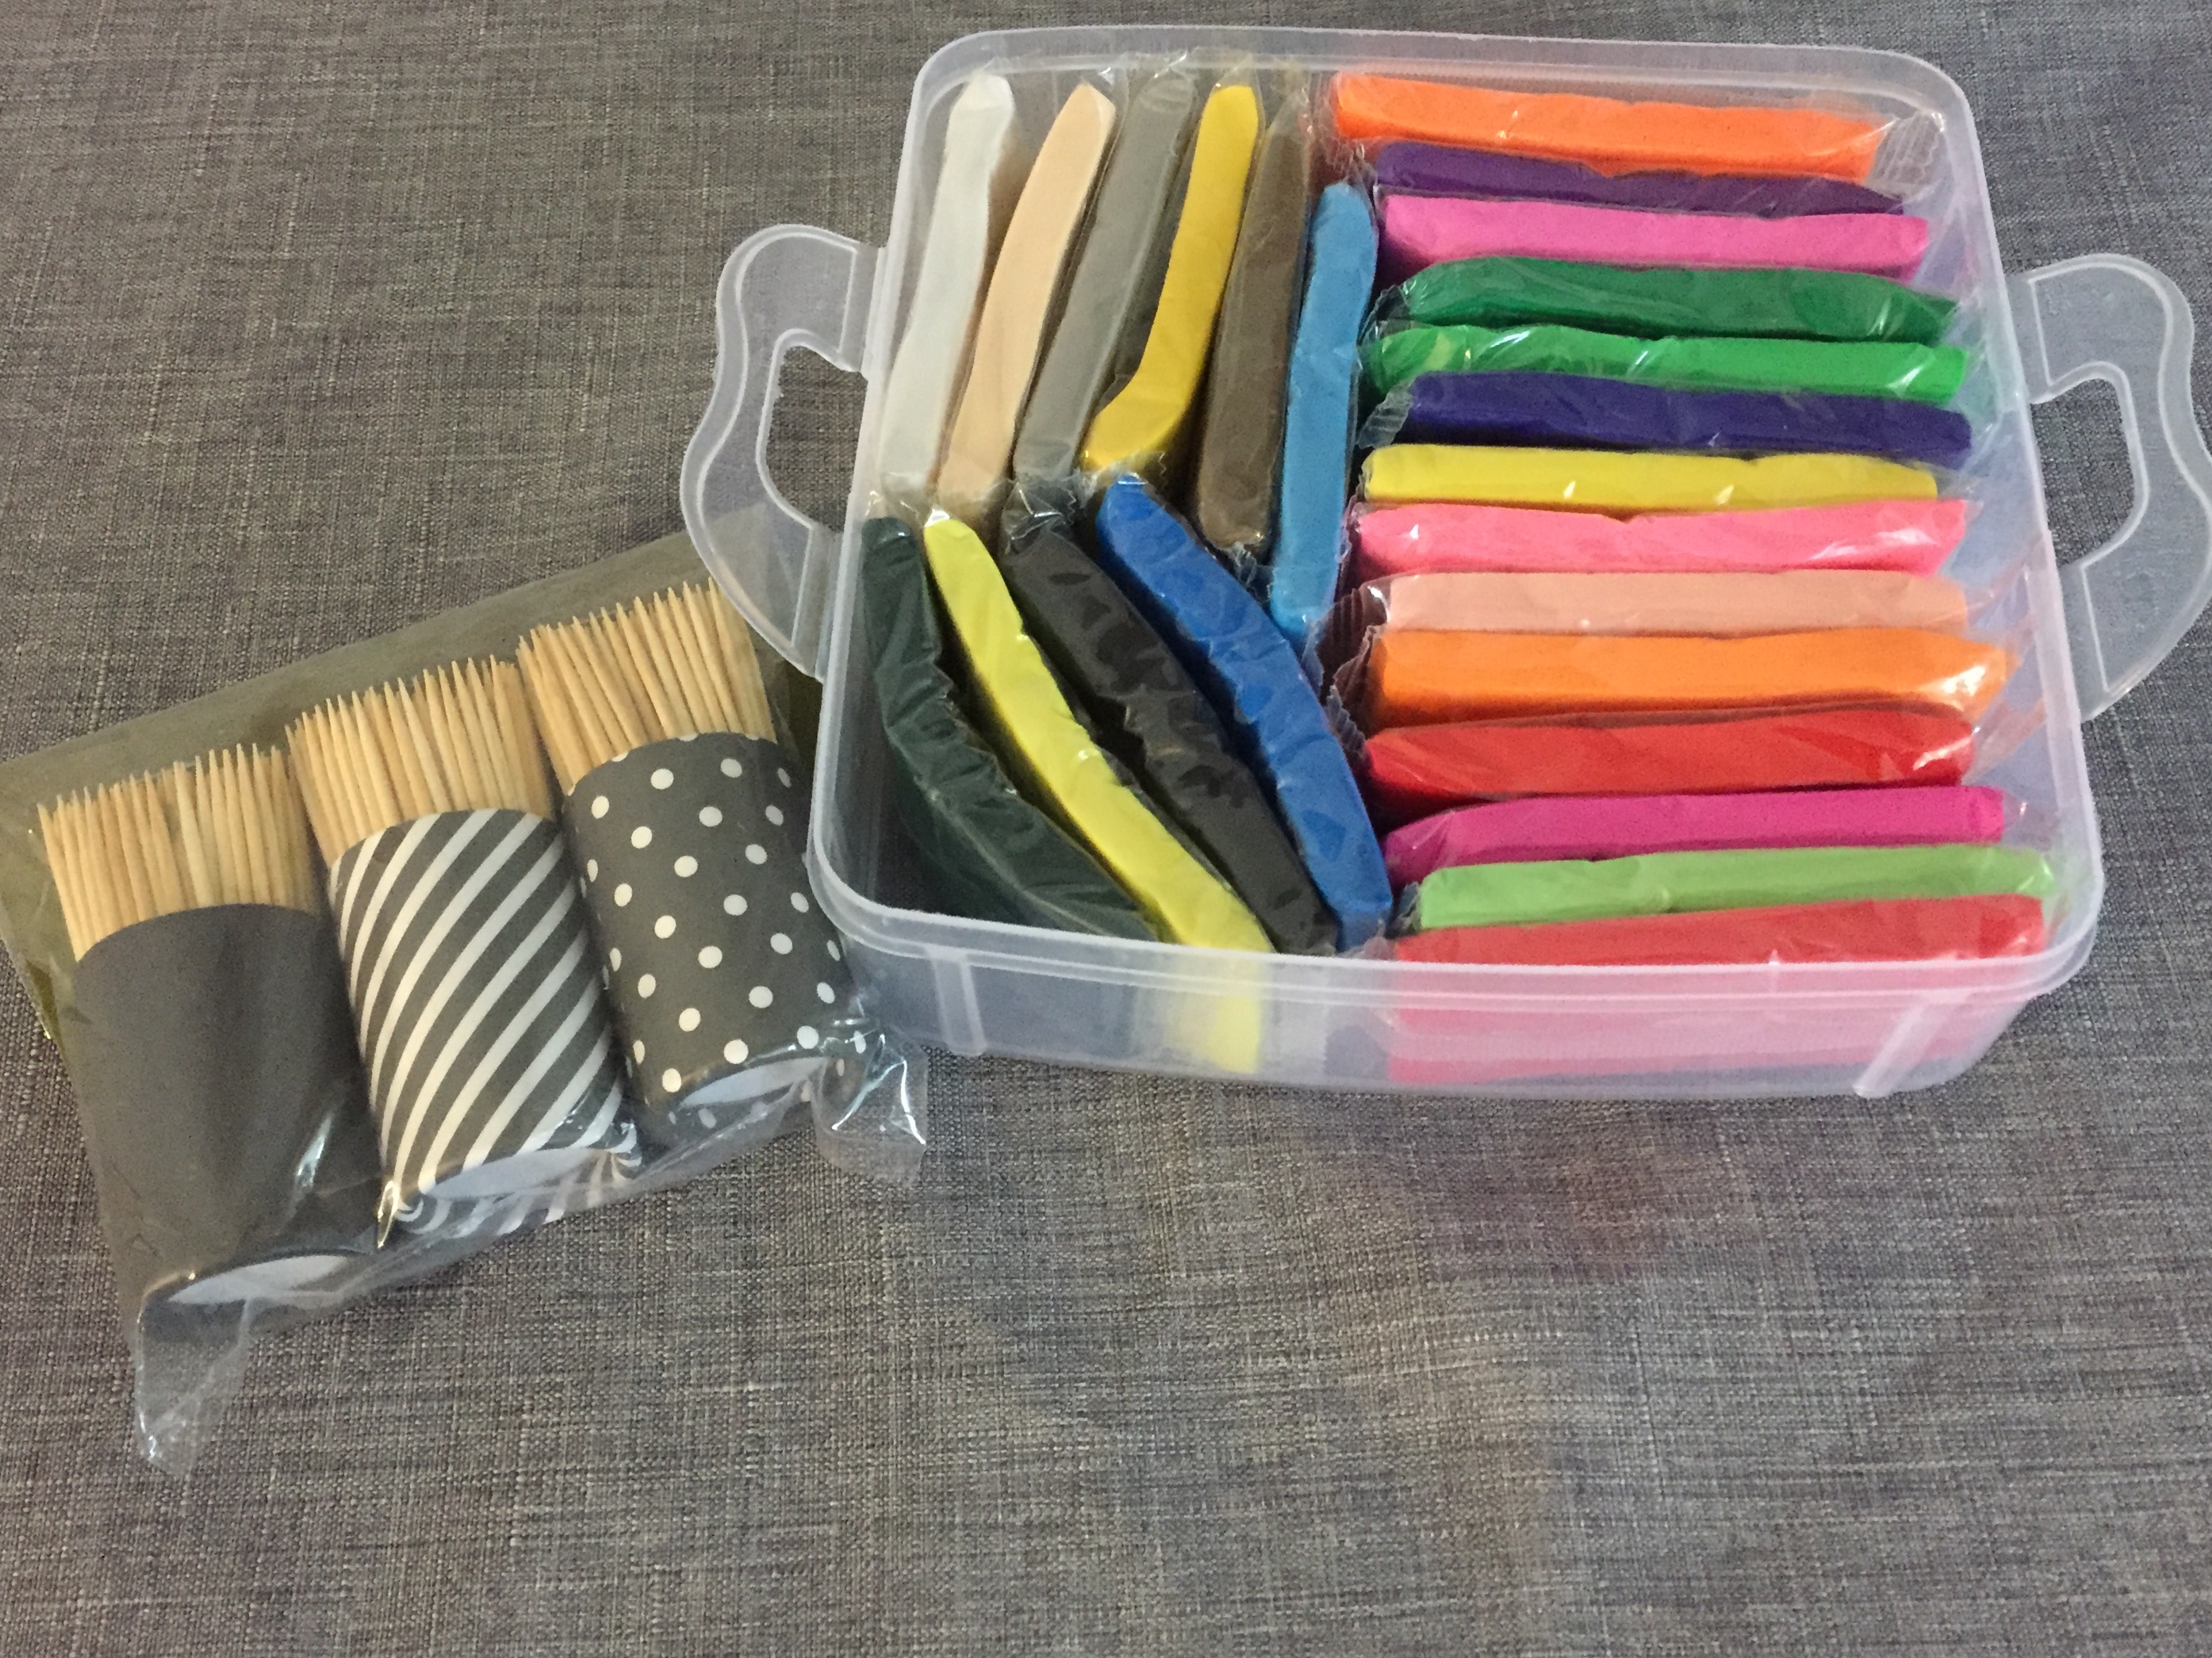
Instructions :
- For the bodies…
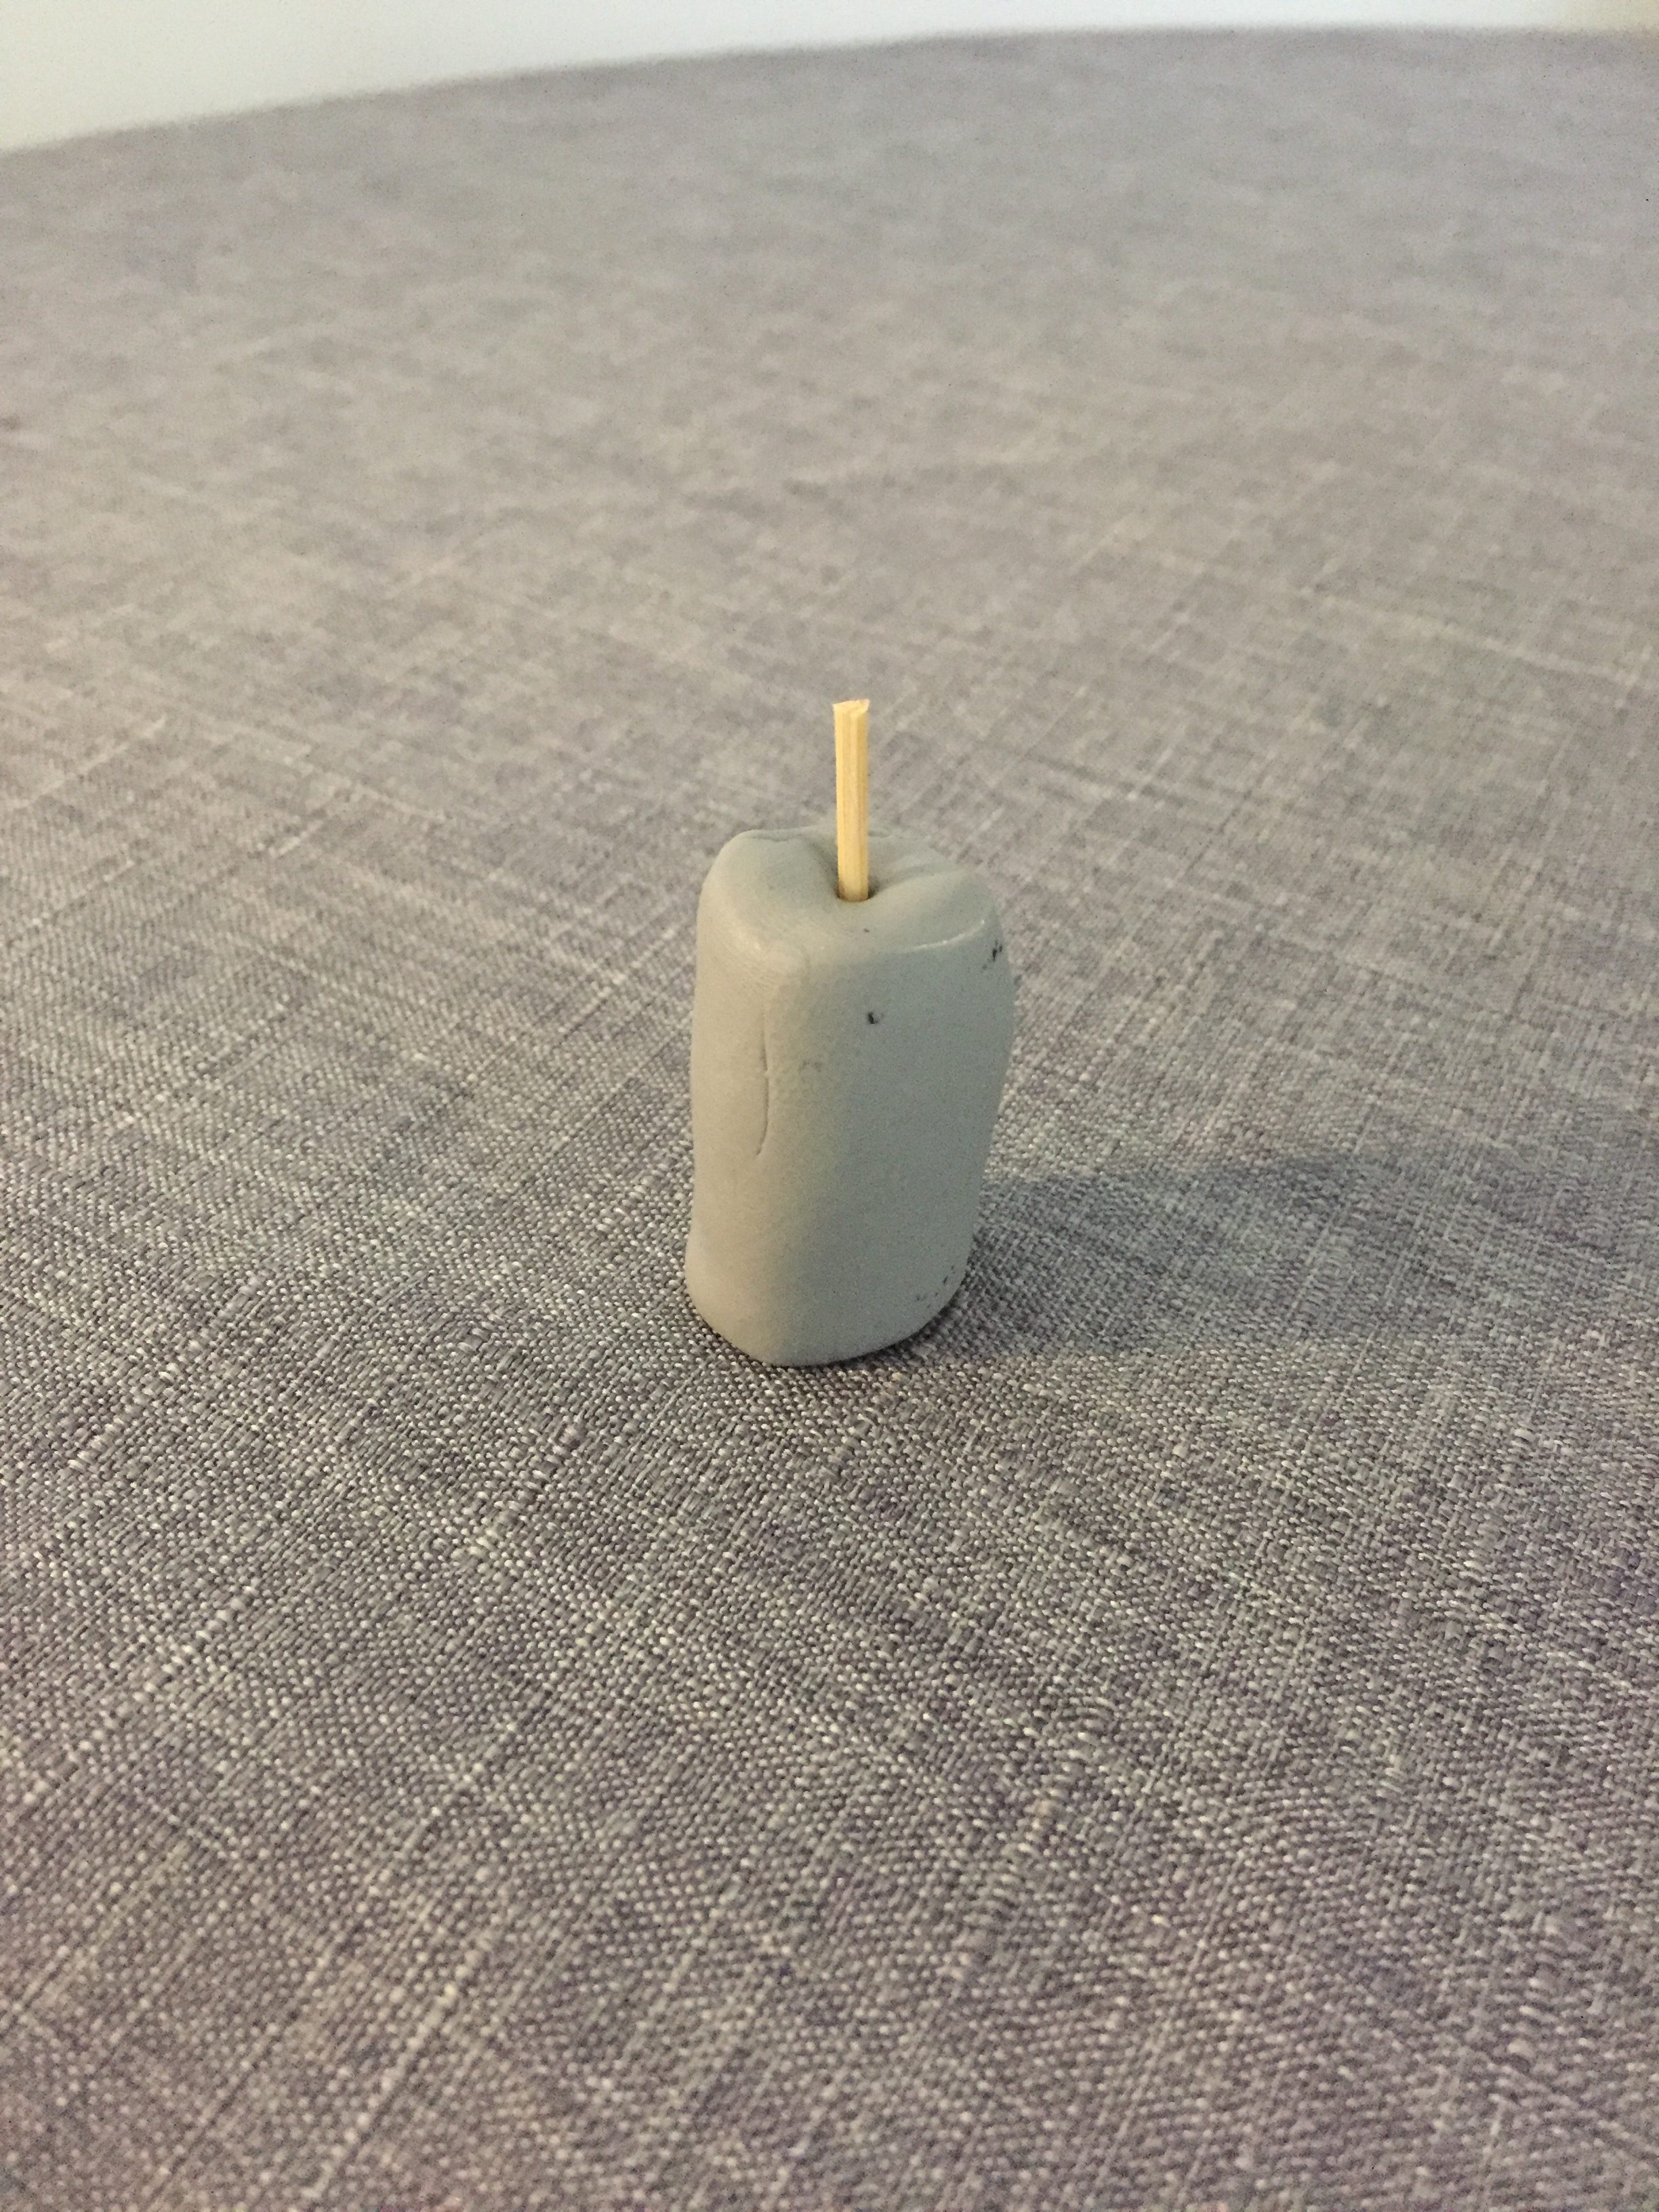
Roll a piece of clay on the table to make a cylinder. Put it upright and stick a toothpick in it, sticking straight up out of the top.
- For the heads…
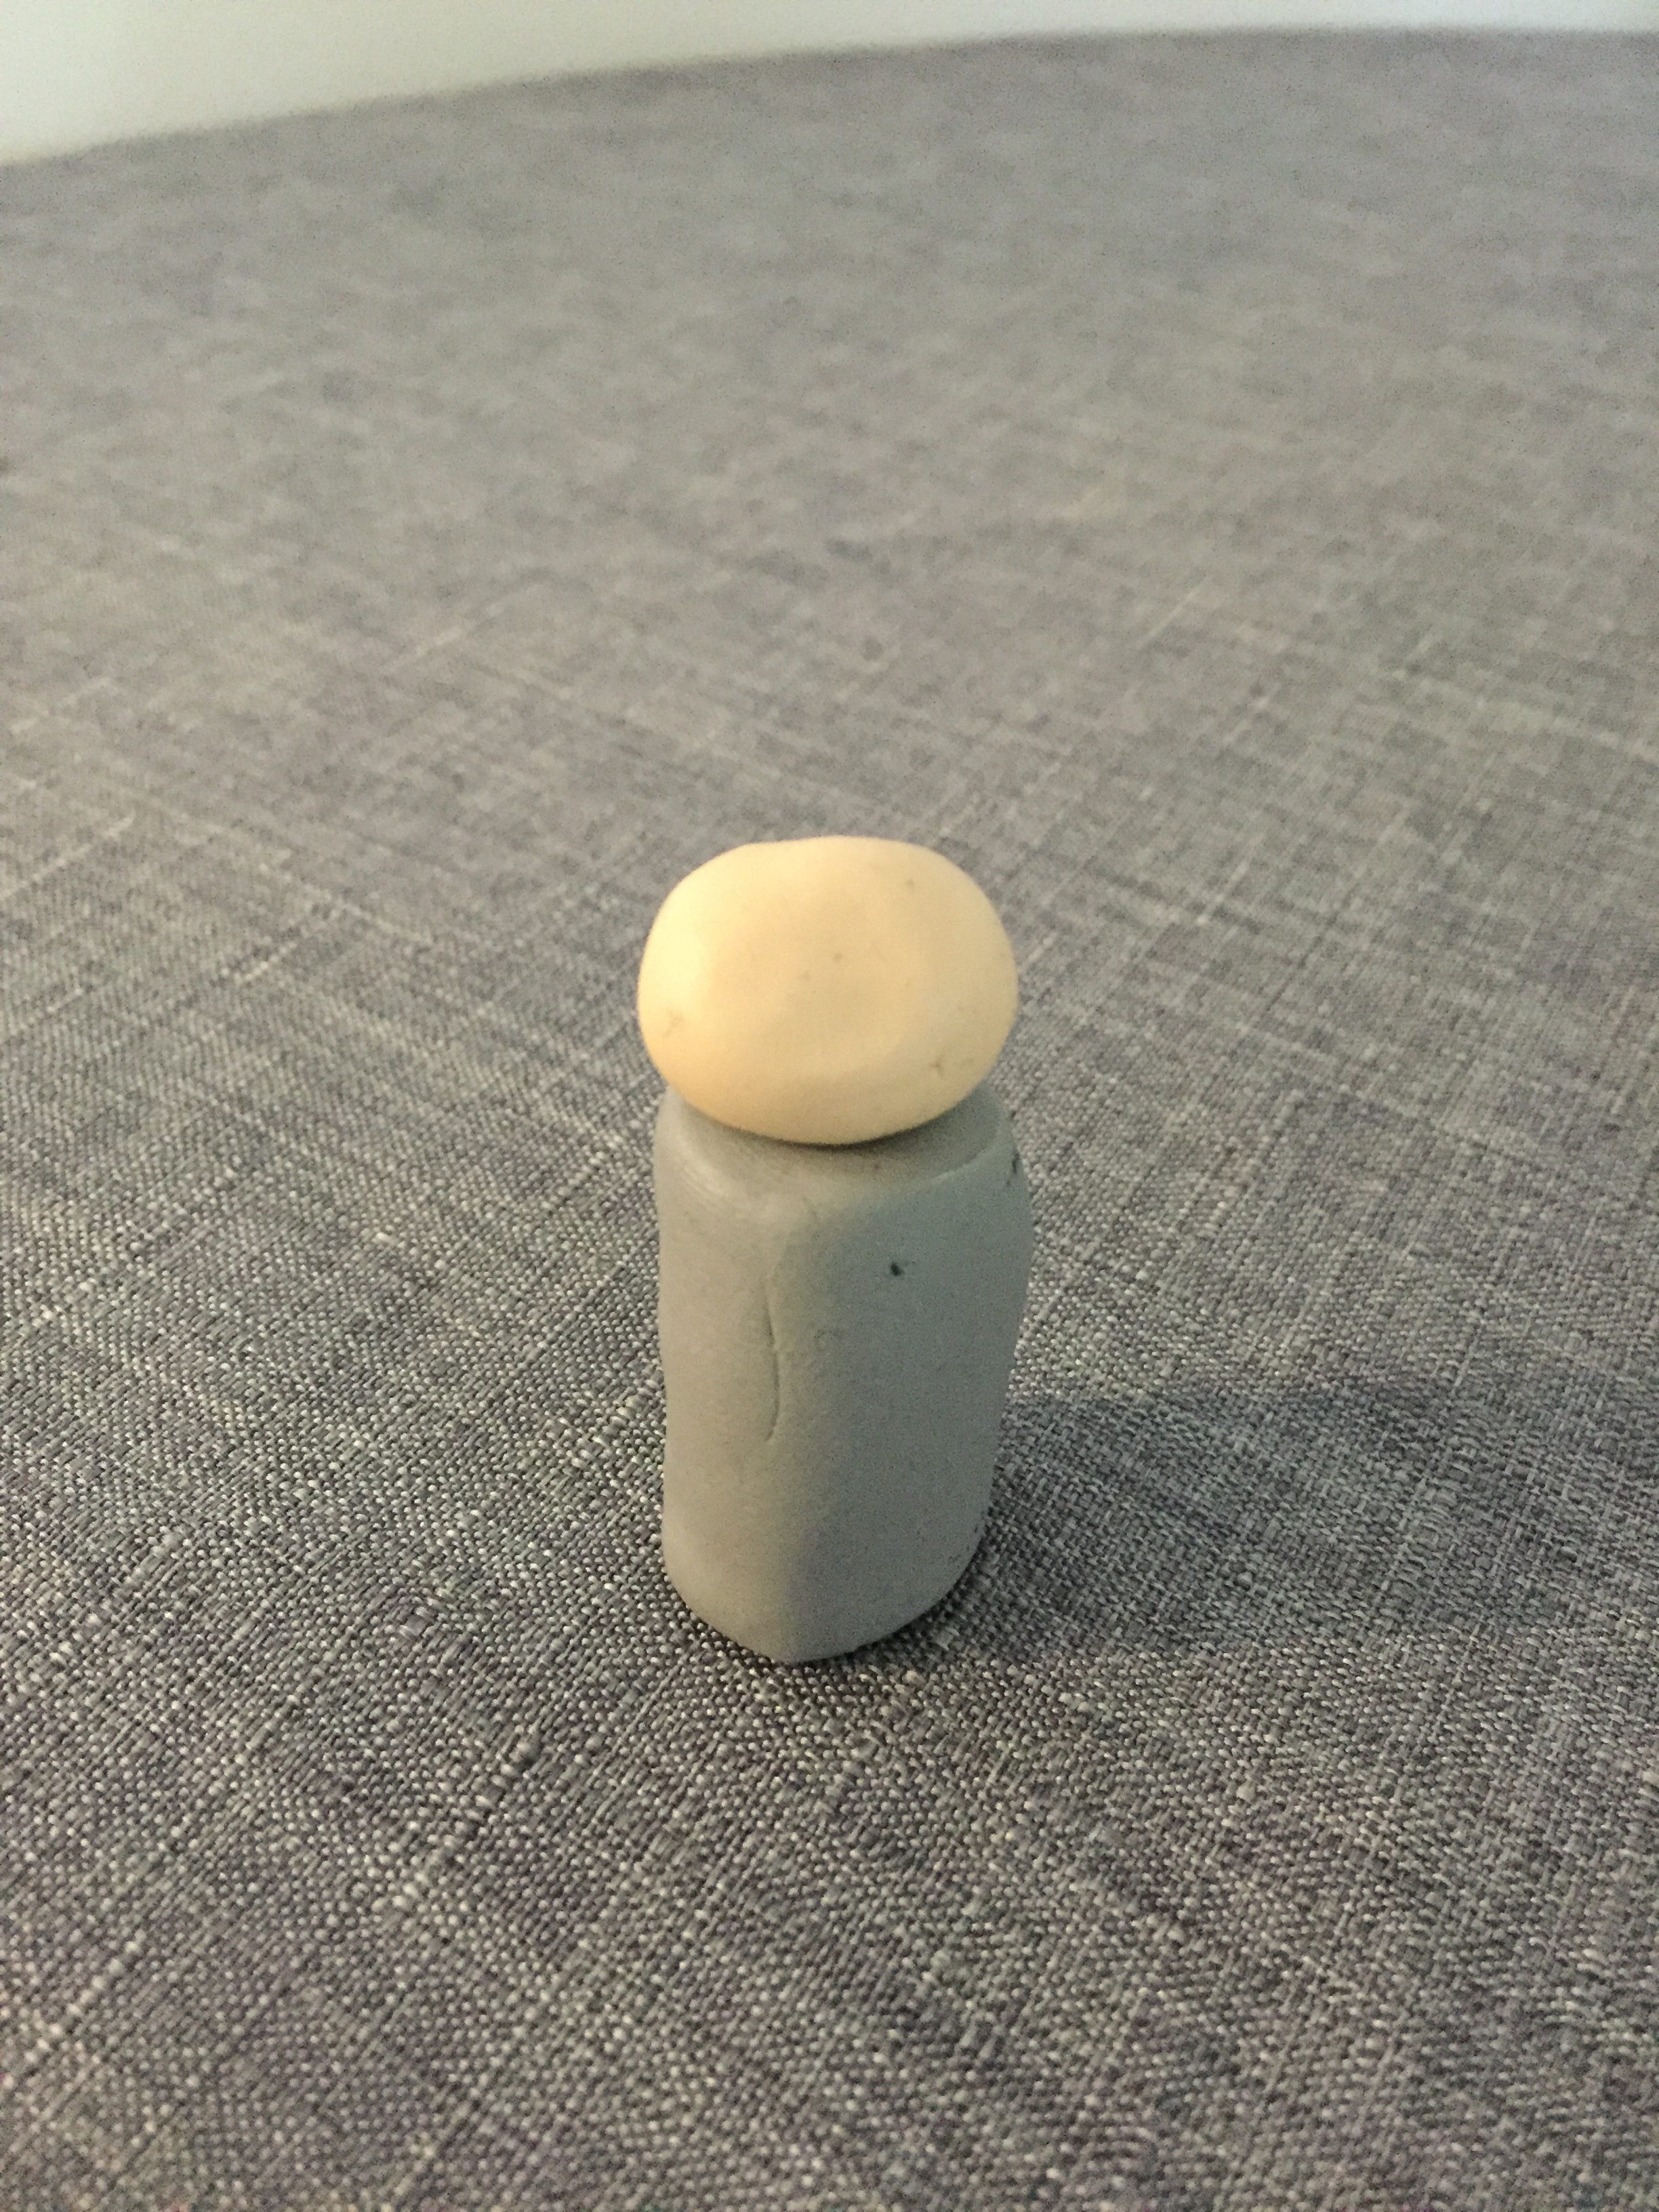
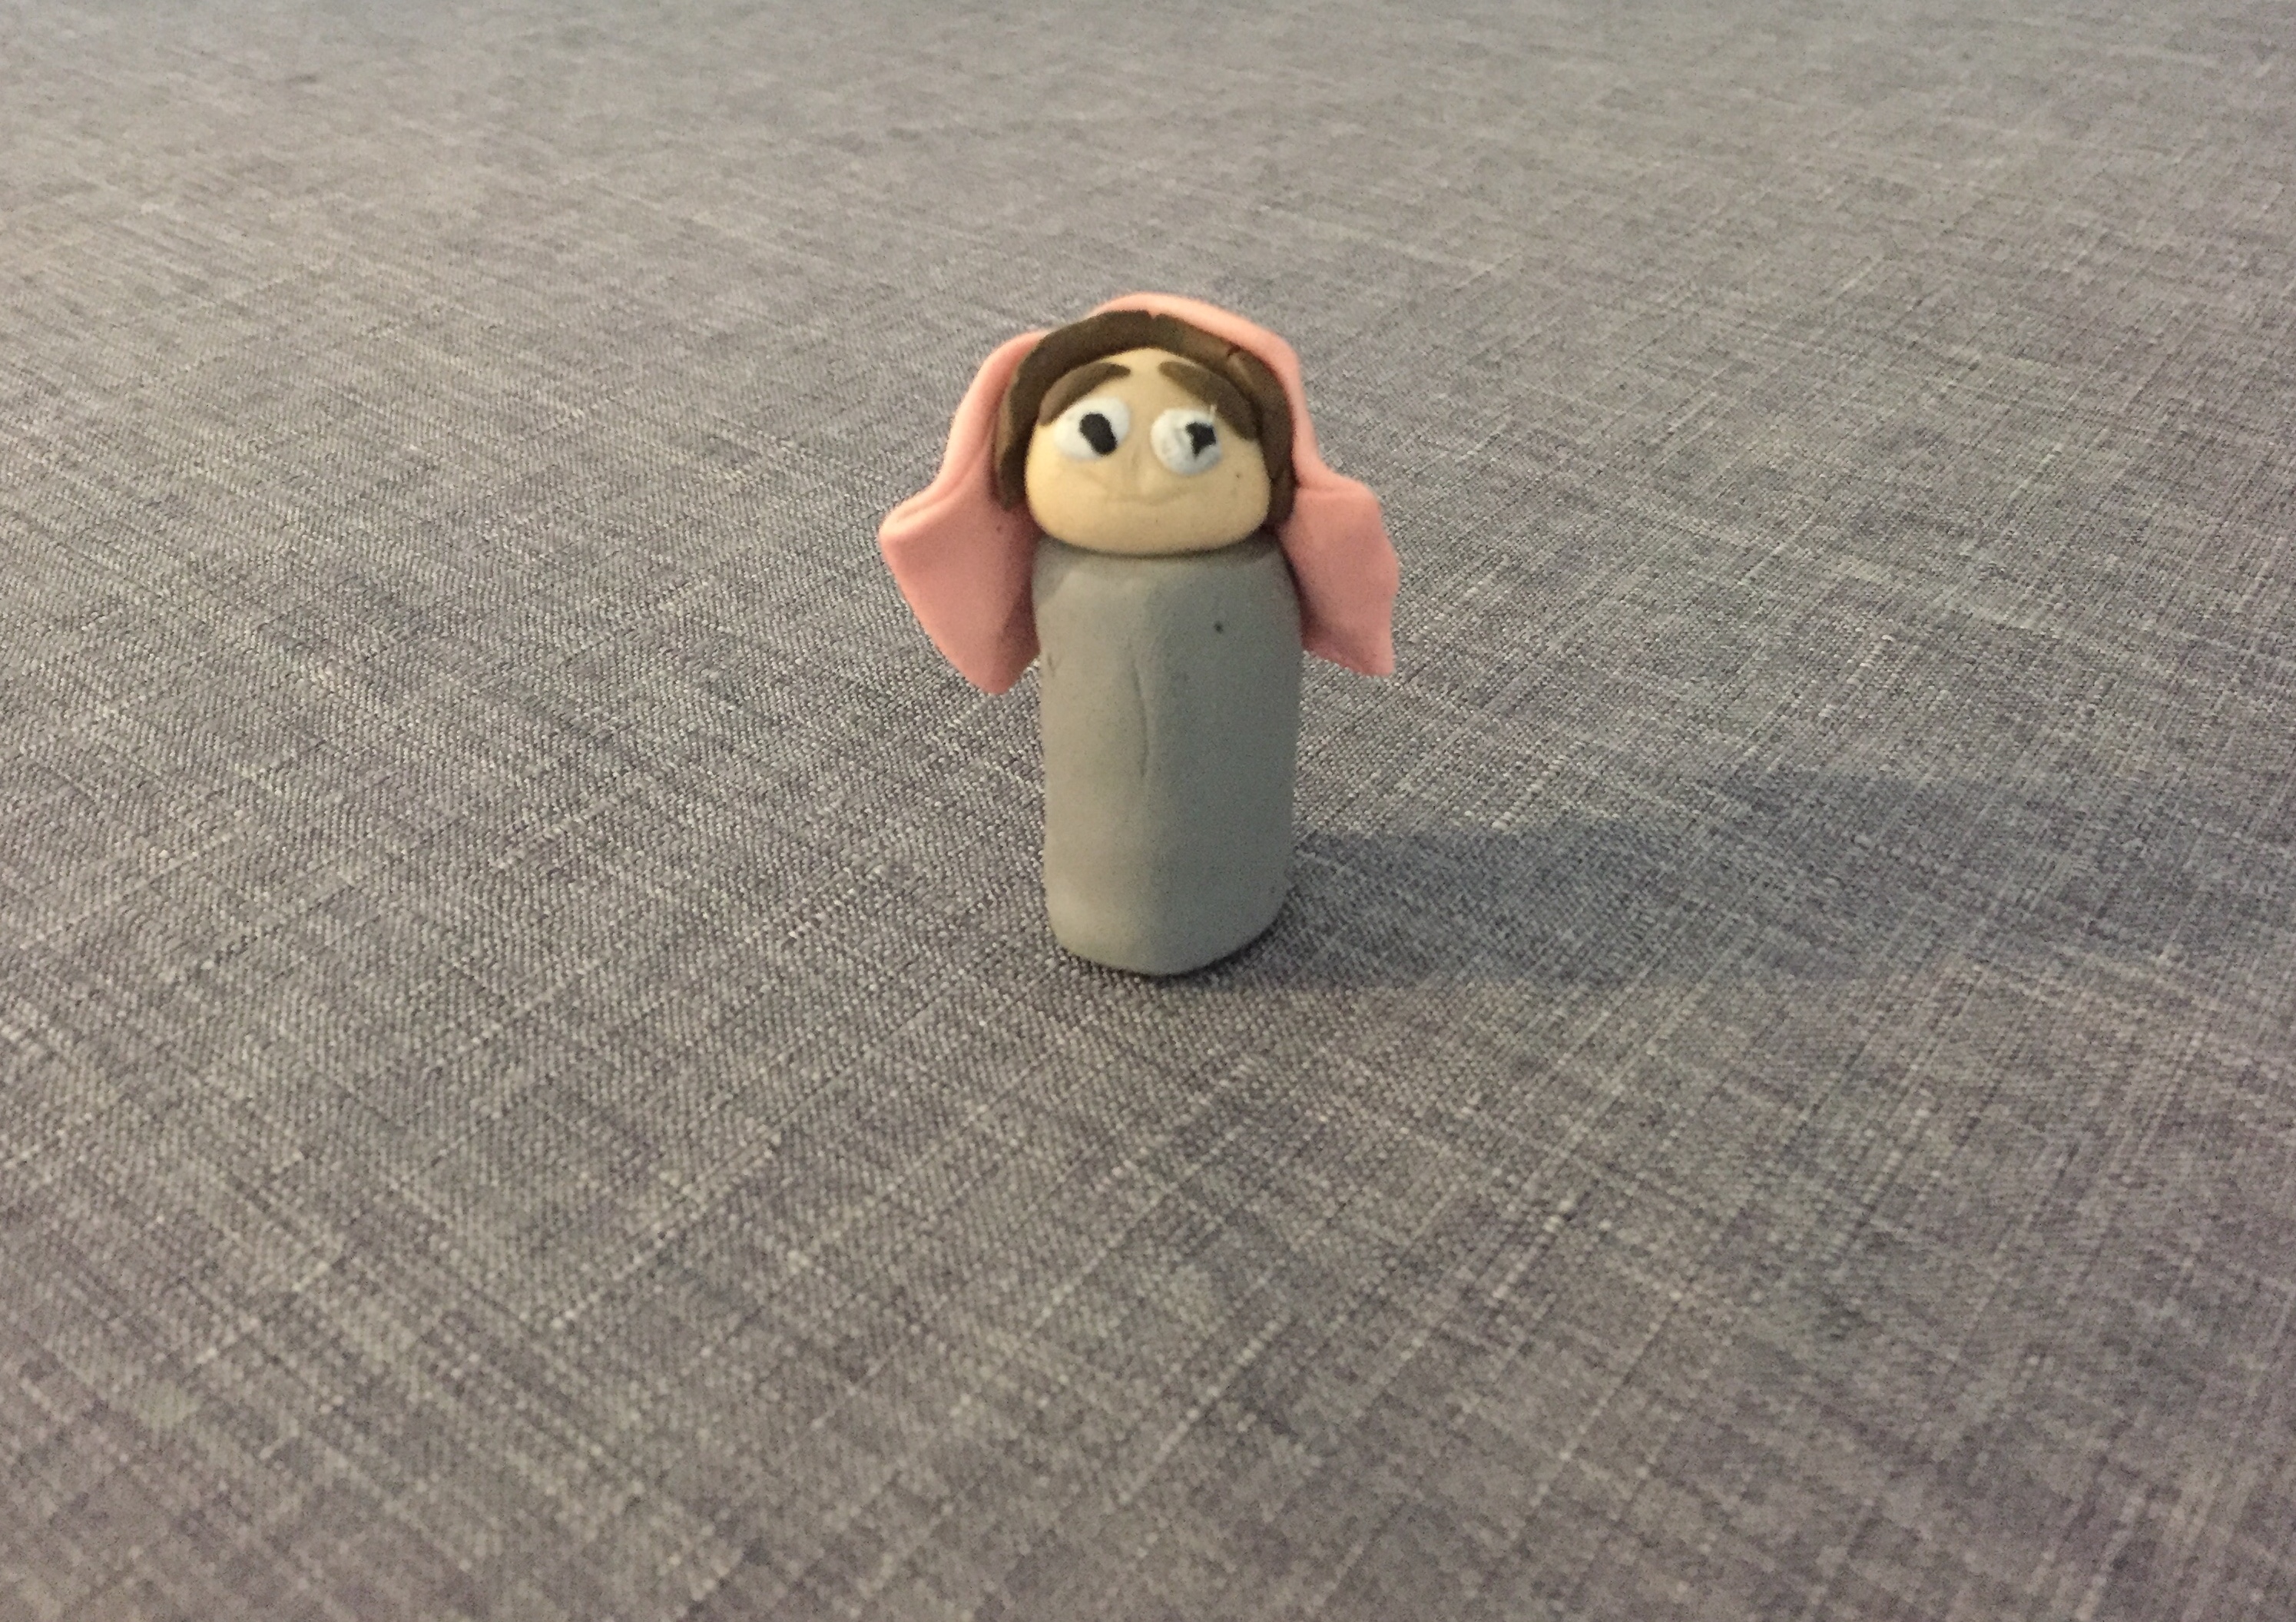
Make a small ball from the flesh-colored clay. For the eyes: attach a small ball of white flattened out; put a black dot in the center. For the eyebrows, thin strips of clay. Creating the face and putting the details on it is a bit difficult and should be reserved for older children (if necessary, use tweezers to handle the smaller pieces). Stick the decorated head onto the toothpick.
- For the clothes …
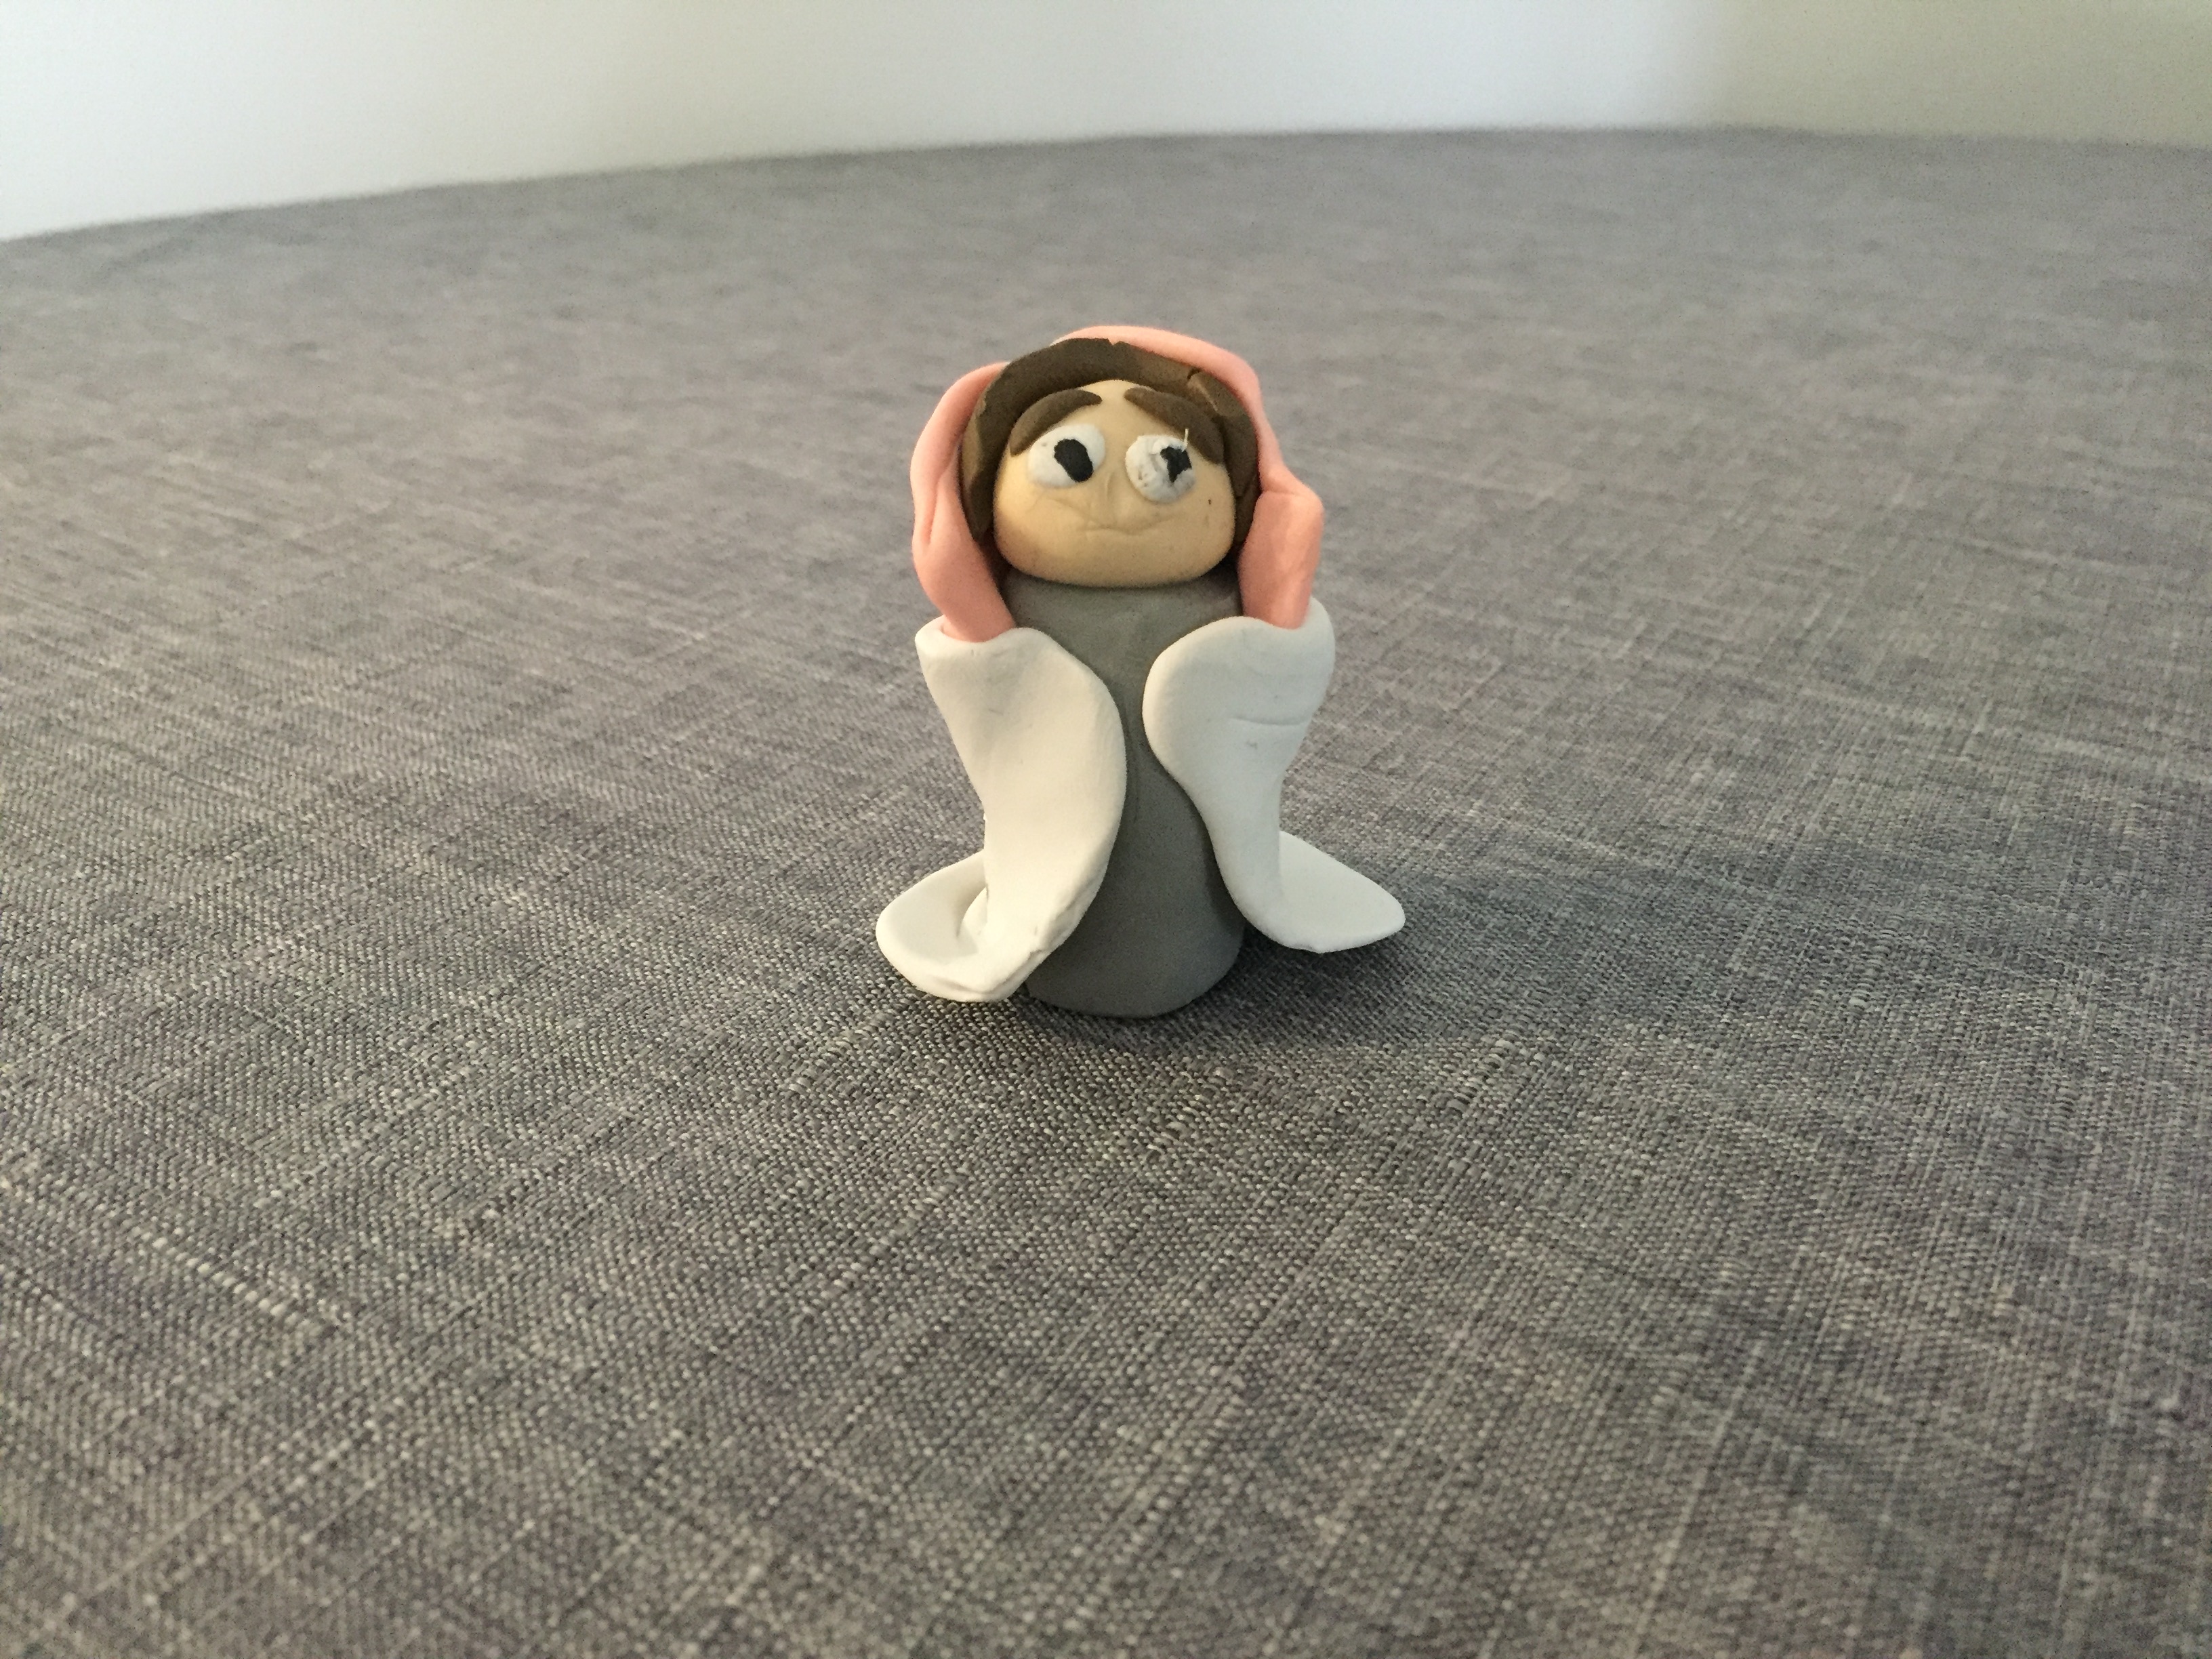
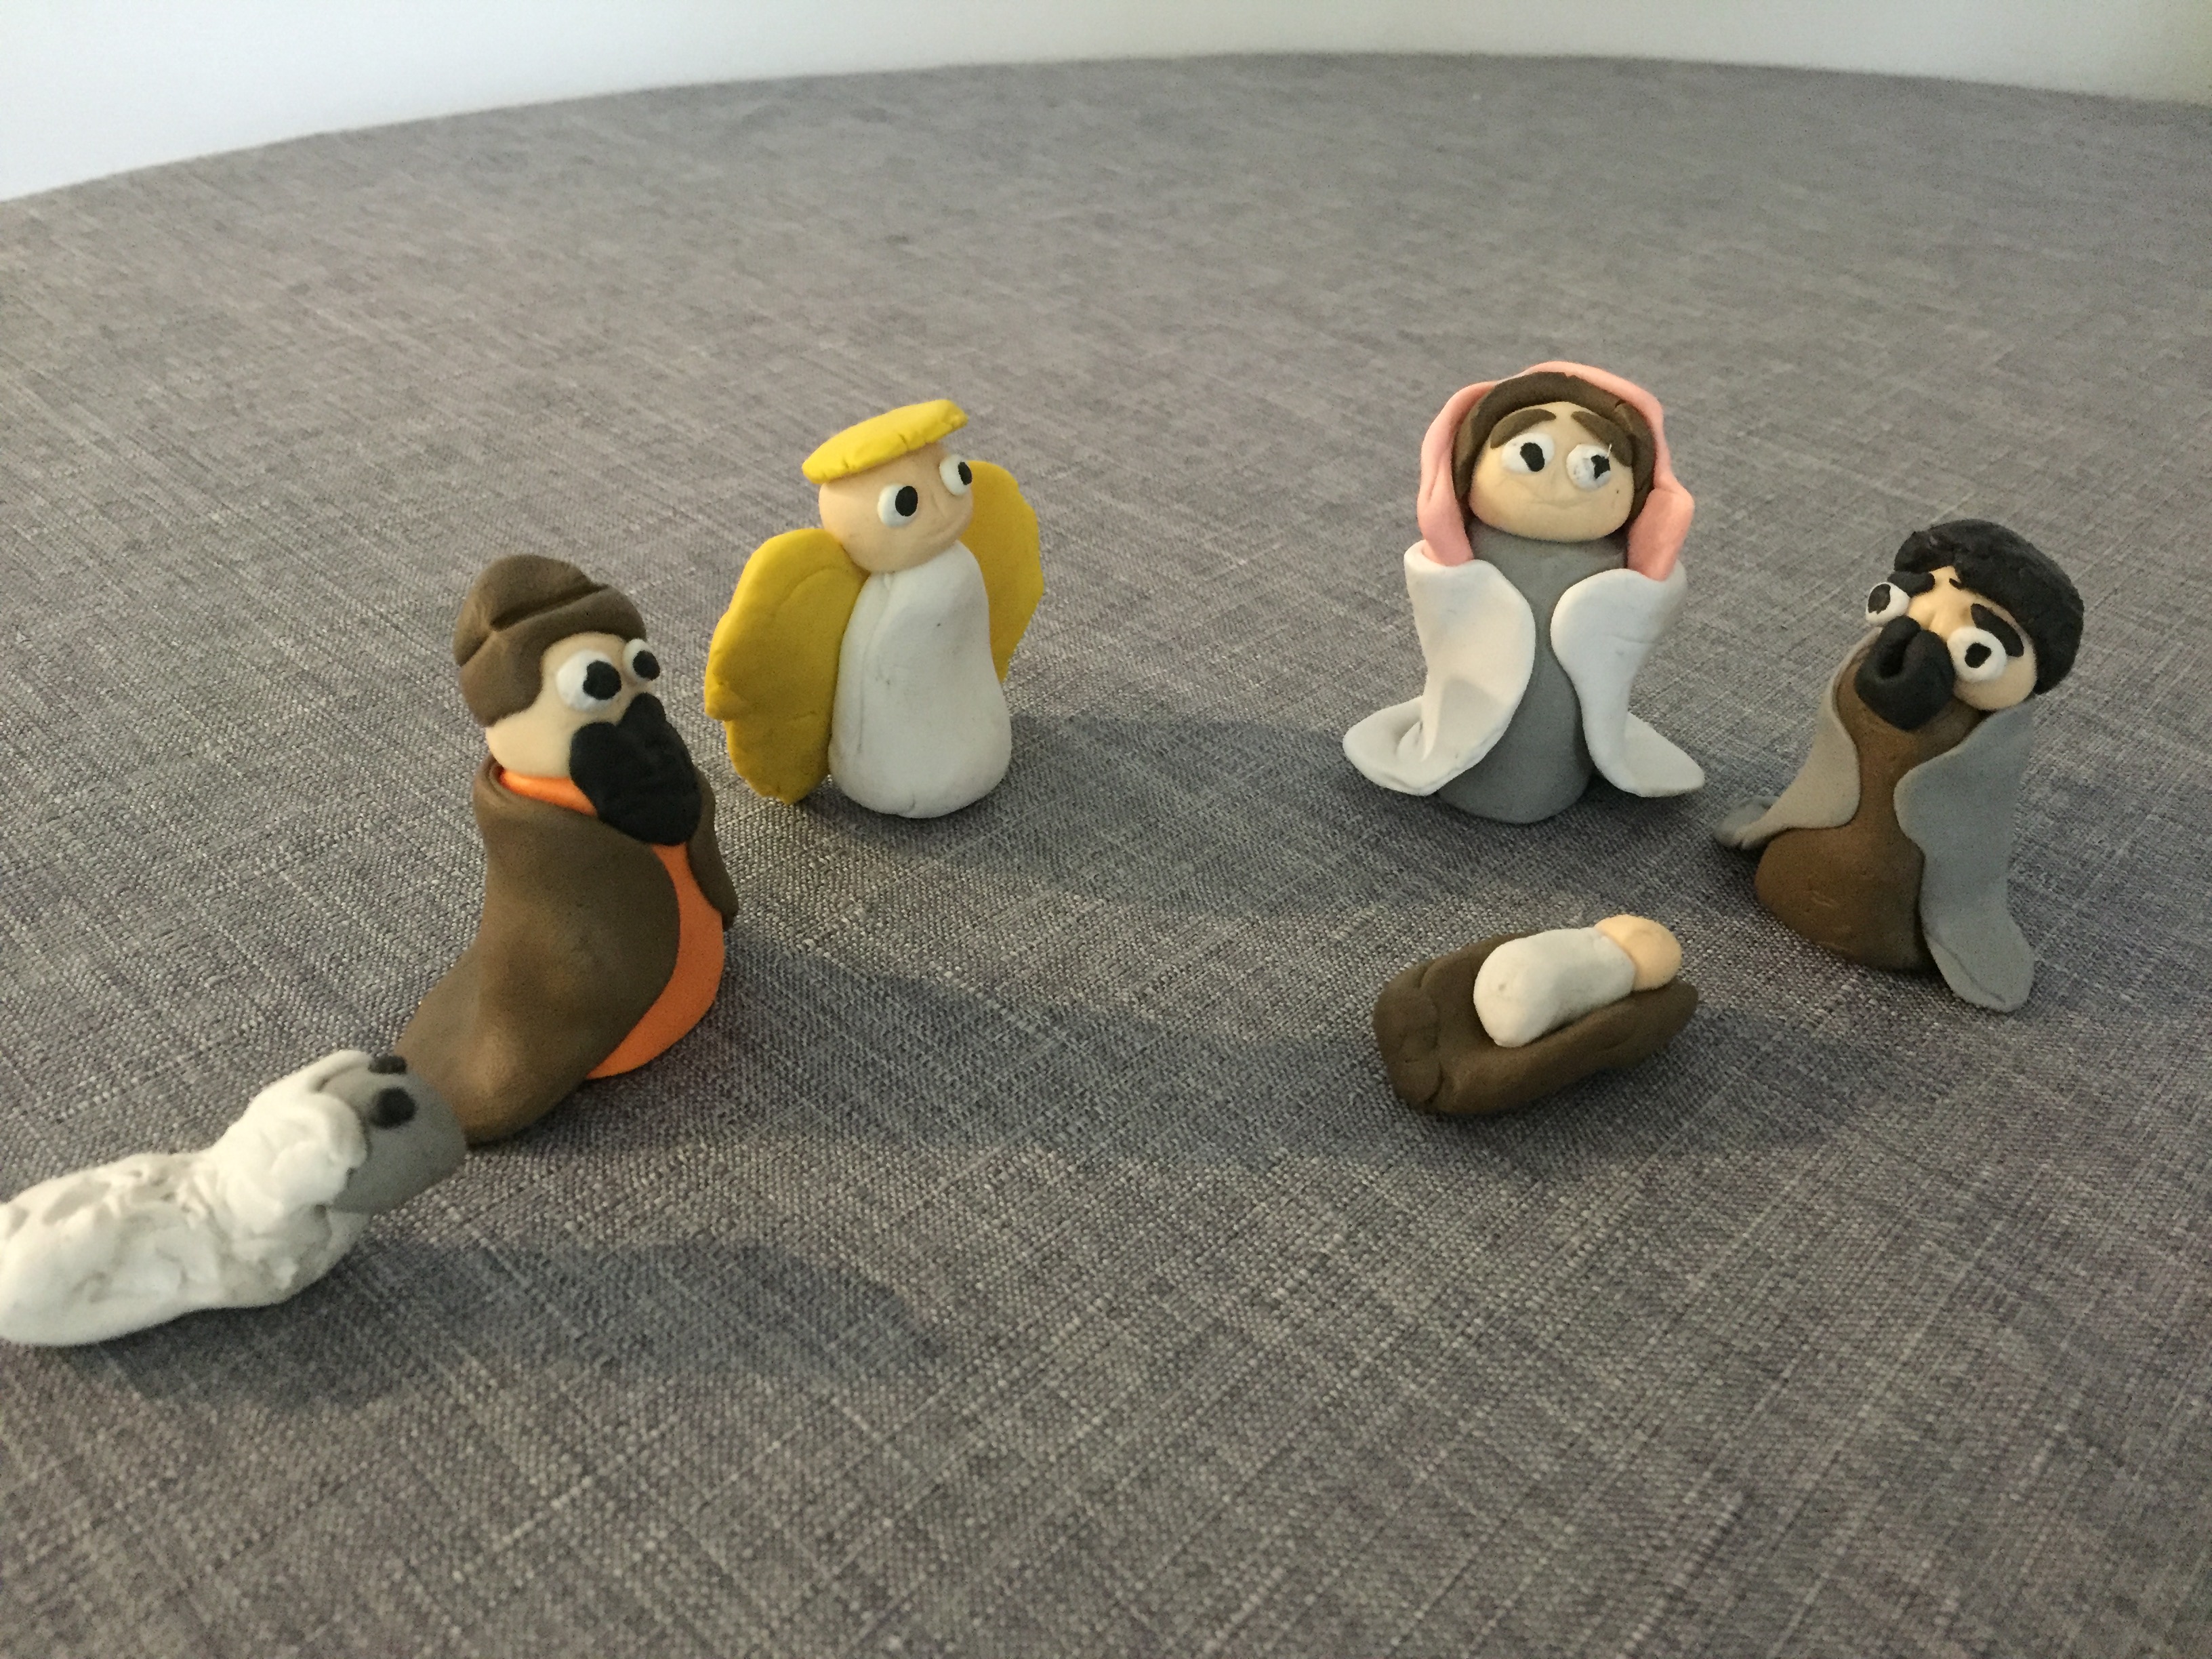
Flatten out the clay with a rolling pin. For the angel’s wings, cut out two wings from the golden clay and apply them to the angel’s back. For the capes of Mary, Joseph and the shepherd, cut out rectangles. If you are making the three kings, cut out rectangles and decorate them with tiny balls of golden, white, royal blue, and scarlet red clay, then roll them on with a rolling pin to make them stick. Finally, attach the capes to the bodies of the figurines. For the Virgin Mary’s veil: cut out a thin rectangle and attach it to her head. If you are dexterous enough you can decorate the clothes with details: knots to close hoods, pockets, etc.
- Baking the figurines
Bake the figurines in the oven following the instructions on the package of clay (never over 266° F). If necessary, add details with acrylic paint.
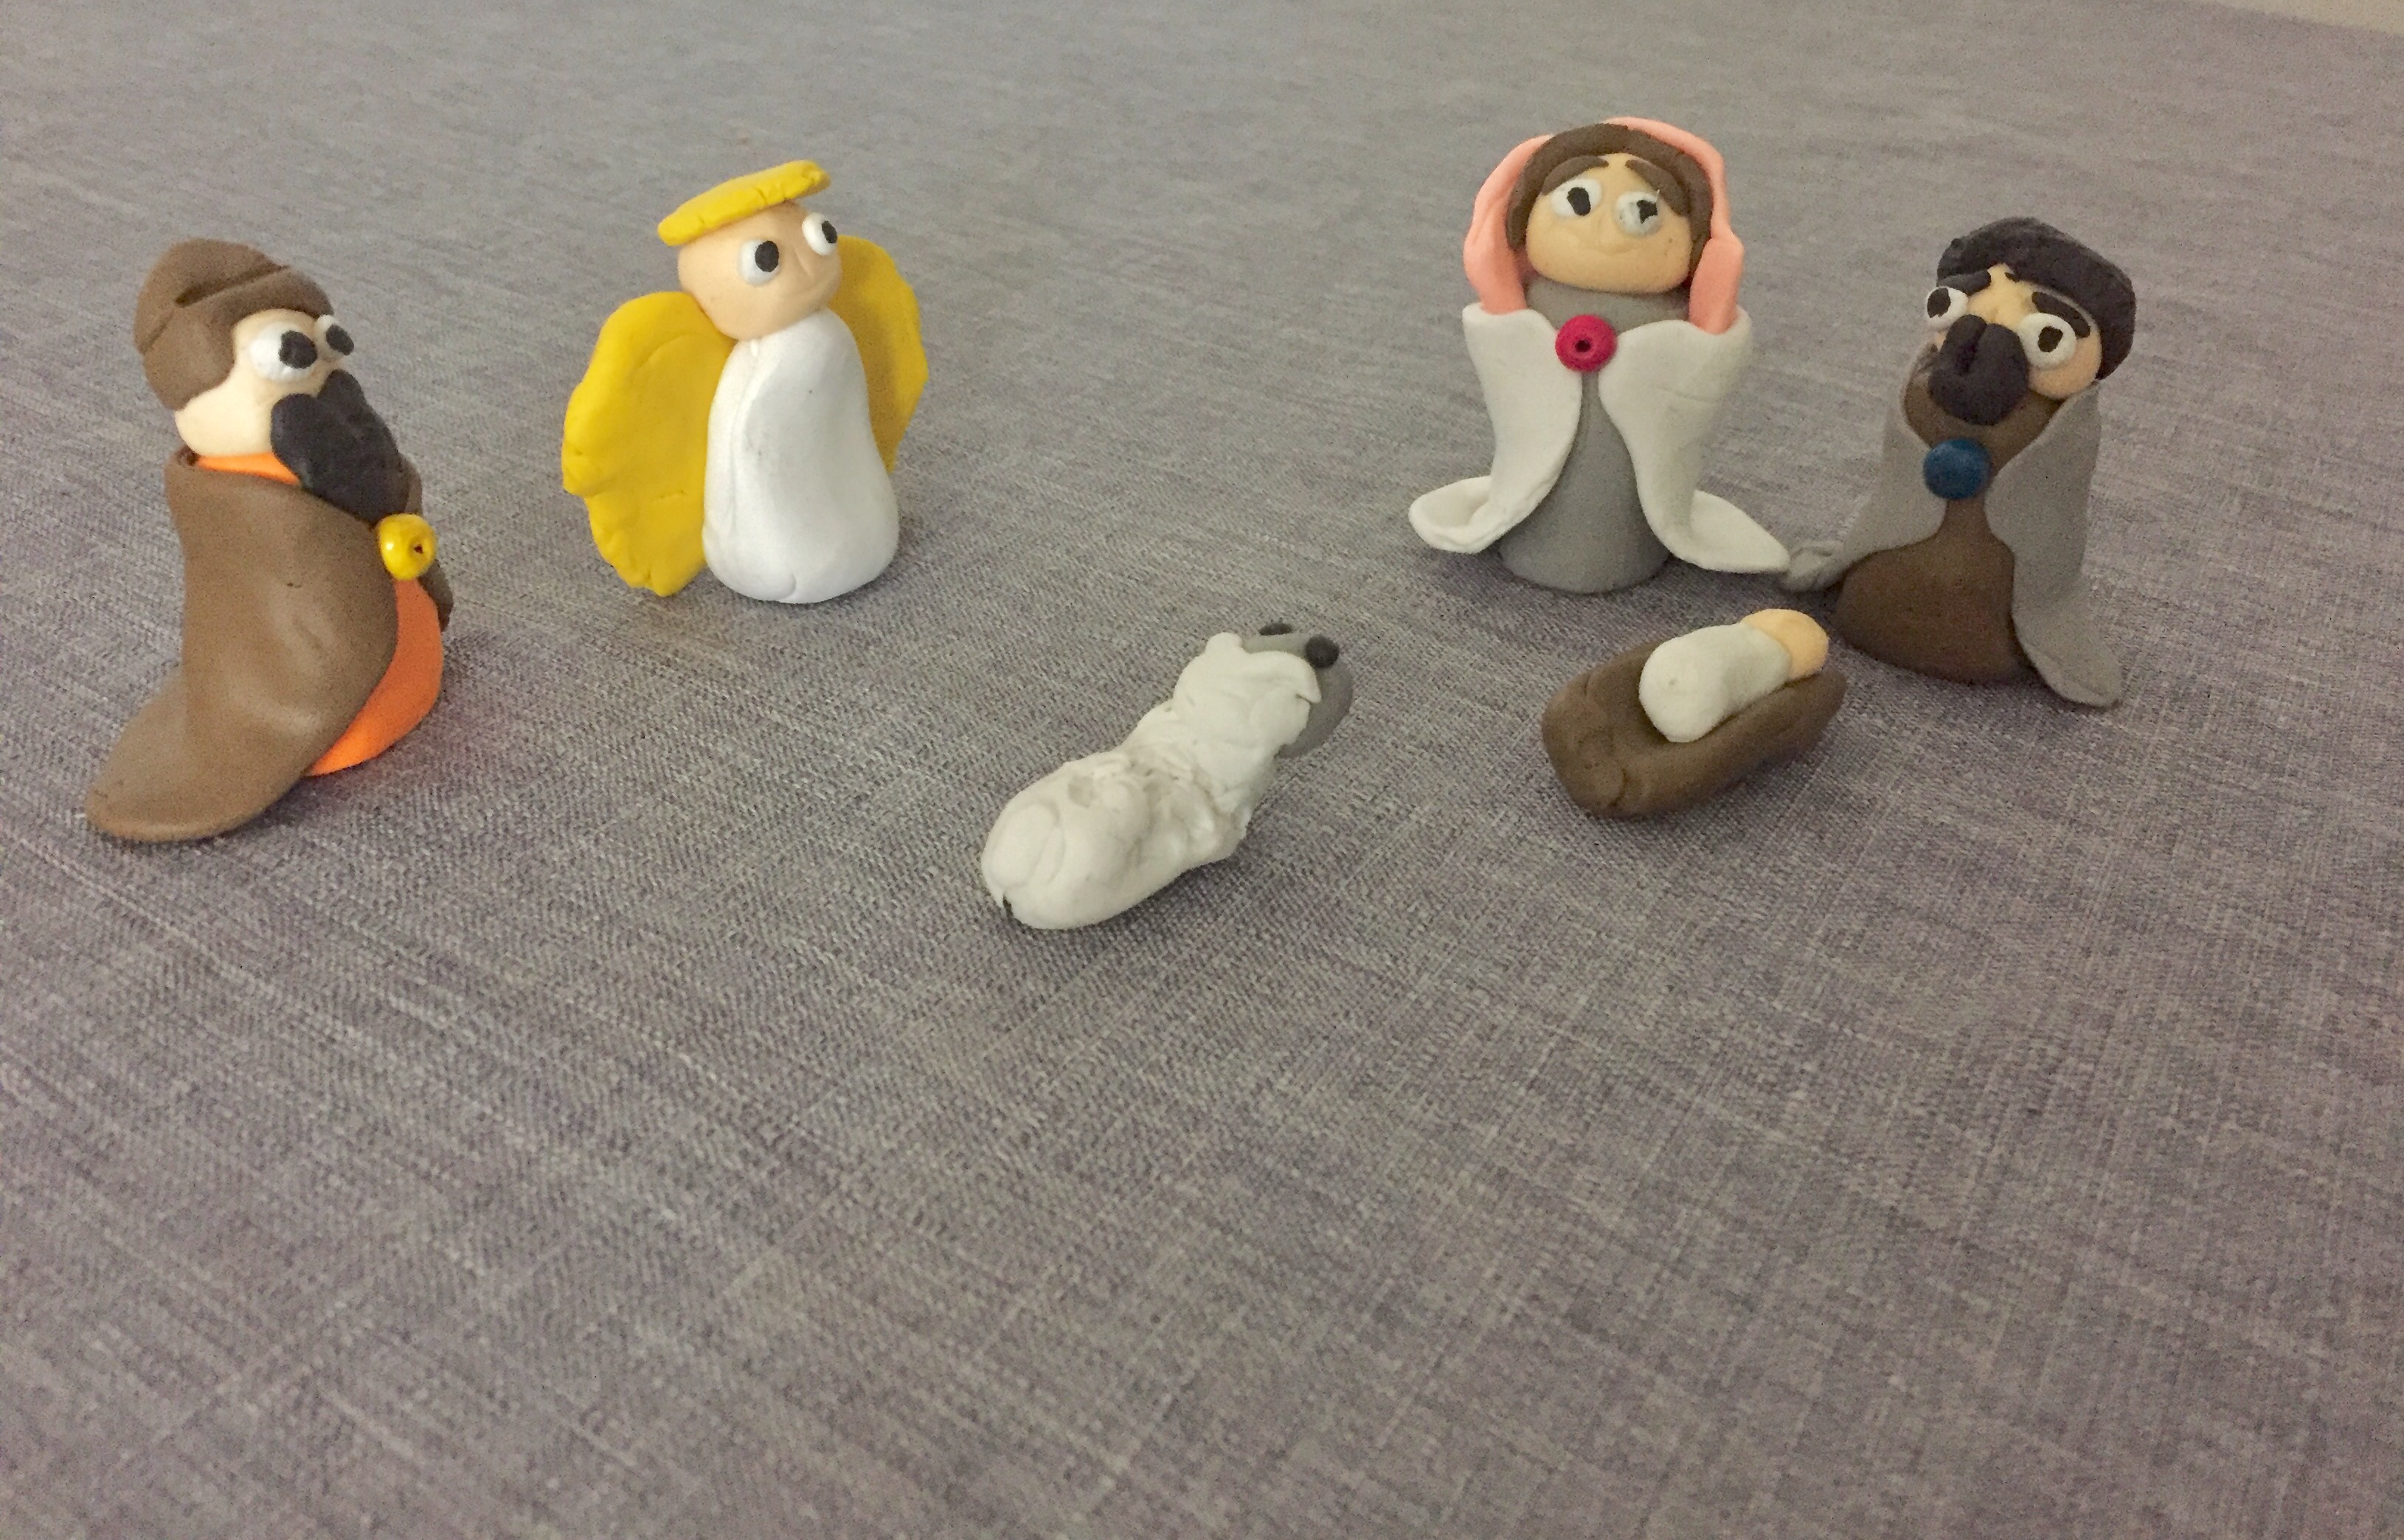
Tip: For a clean look, work the light colors first, or wash your hands and the working surface in between colors.
Guila Gaillard

Read more:
The world’s largest Nativity scene is in Alicante, Spain


